Set up a connection between a low-code app and your Python or R model
#4 Integrate UbiOps with Betty Blocks.
It can be hard and complicated to turn a Python or R model into an end-to-end application.
You need to develop a front-end and a connection between the front-end and the model before the application can be used at all. An easy way of developing a front-end for your application is making use of low-code platforms. However, low-code platforms don’t include functionality for AI and rely on integrations with other tools.
One of the tools that could be used for adding AI functionality is UbiOps. UbiOps turns your model or script into a live service. Taking the hassle out of things like VM configuration, managing code dependencies, version control, API management, and security. Another advantage UbiOps has is that there are no IT costs. Click this link for more information about UbiOps.
The low code app we’ll be using in this article is the Betty Blocks platform. Betty Blocks aims to make it possible for everyone to work on application development. More information about Betty Blocks can be found here.
Say you have created an object detection model, which is able to recognize objects in an image and count the number of objects that are in that image. In this article, we won’t build an entire application, but we’ll explain how to set up a connection between Betty Blocks and UbiOps so you can build your app around it.
In this case, the app will have a low-code front end with a model behind it that you can upload pictures to, to see which objects are detected, and how many of them are detected.
To build this yourself you need:
1) A UbiOps account (create one here)
2) A Betty Blocks community account (create one here)
3) The (exported) object detection model (download here)
1. Upload your code to UbiOps, and create an API token with the right permissions
You can find the pre-trained and ready-to-go object detection model here. If you use the import/export functionality in UbiOps to import the model and its settings, no further adjustments are needed. After the model has finished building, it is available for requests straight away.
To make requests to the model, we must first create a service user and assign the right permissions. To do this, click the button “Permissions” in the menu bar on the left, then click “API Tokens” -> “Add token” and create a token with at least the
“deployment-request-user” role assigned. Make sure it looks like the picture below.
 i
i
When the model has finished building, you can now copy the API endpoint from the ‘general’ page of your deployment. (see picture below)

In case you imported the entire model as explained in this guide, you probably did not see what the required input and output formats are. You can find this under your deployment -> general -> “Input/Output”, or copy the input format from here (JSON):
This means that the model expects something with the name “image_base64”, and with data type “string”. We are using a deployment with a string input because Betty Blocks’ API is not able to send files.
Now that the model has an API endpoint, the next step is to create a connection between Betty Blocks and UbiOps.
2. Define an HTTPS web service
In order to create a connection, we need to add a web service with one endpoint to Betty Blocks. The web service connects UbiOps with Betty Blocks and the endpoint is used to make the actual requests to the deployment we have just created. You can add multiple endpoints to one web service.
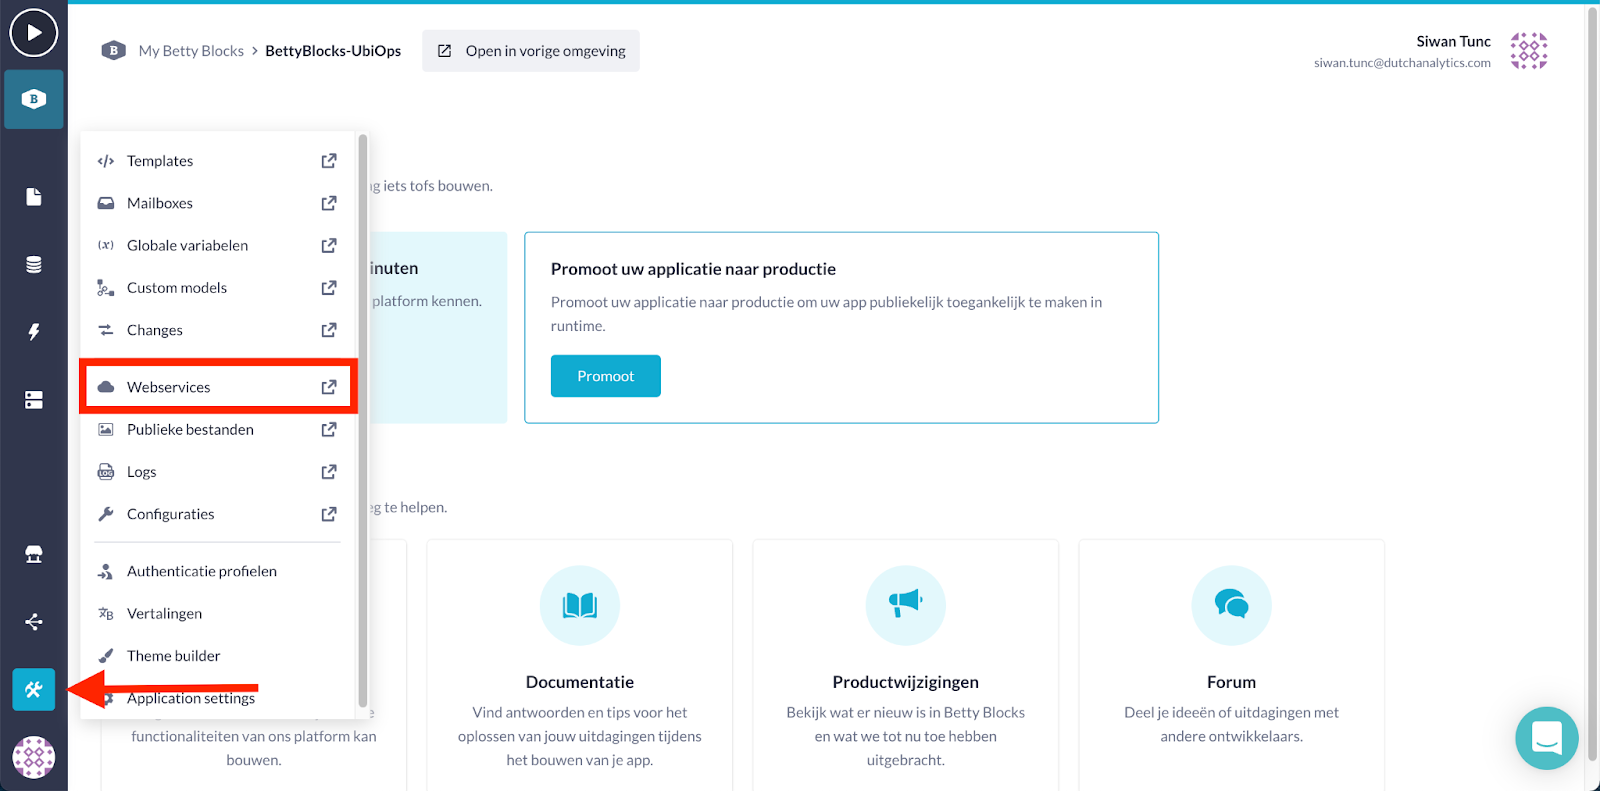
In order to create an HTTPS connection in Betty Blocks, click the “Tools” -> “Webservices” button in the bottom left.
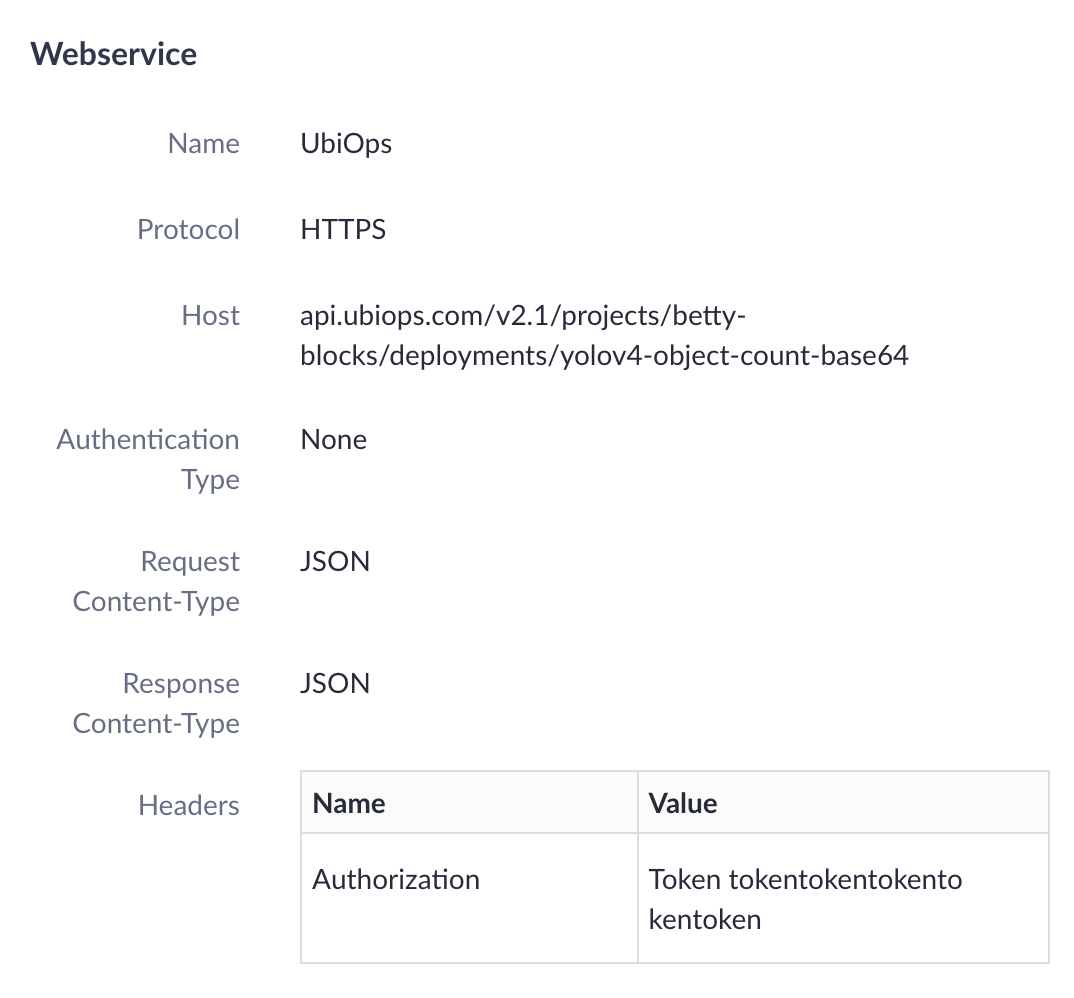
After that, we need to define the web service. Fill in the following parameters:
| Name | UbiOps |
| Protocol | HTTPS |
| Host | COPY YOUR DEPLOYMENT ENDPOINT HERE |
| Authentication type | None |
| Request-Content Type | JSON |
| Response Content-Type | JSON |
| Headers: | |
| Authorization | Your API token with the deployment-request-user |
After filling everything in, click save. Our web service configuration should look like this:
After our web service is defined and created, we can start defining the API endpoint
| Name | Make request |
| Http method | POST |
| Path | /requests |
| Parameter encoder | Flat |
| Request Content-Type | JSON |
| Response Content-Type | JSON |
| Body variables: | |
| Name: image_base64 | Value: Leave blank |
As explained before, Betty Blocks’ API is not able to send files. So the first thing that must be done before we can test our integration is to convert the image shown below to a base64 format. You can do this via this link.
When everything is done, our WebserviceEndpoint should look like this:

You can test the connection by clicking the “Run test” button in the top right and entering the base64 string you have just created or copied and entering it as a value.

The response of the test should look as follows:

So there you have it. We have successfully integrated UbiOps with Betty Blocks.
This article can be used as a base for integrating other types of models as well.
Now you can build your own application around this API call, and include AI in your low-code front-end application. For any questions don’t hesitate to reach out to us via slack or via our contact page. Thanks for reading!


