Pachyderm and UbiOps integration
Download notebook View source code
This tutorial shows how to integrate Pachyderm and UbiOps to create a automated system where models are trained image data in Pachyderm and then served on UbiOps.
How does it work?
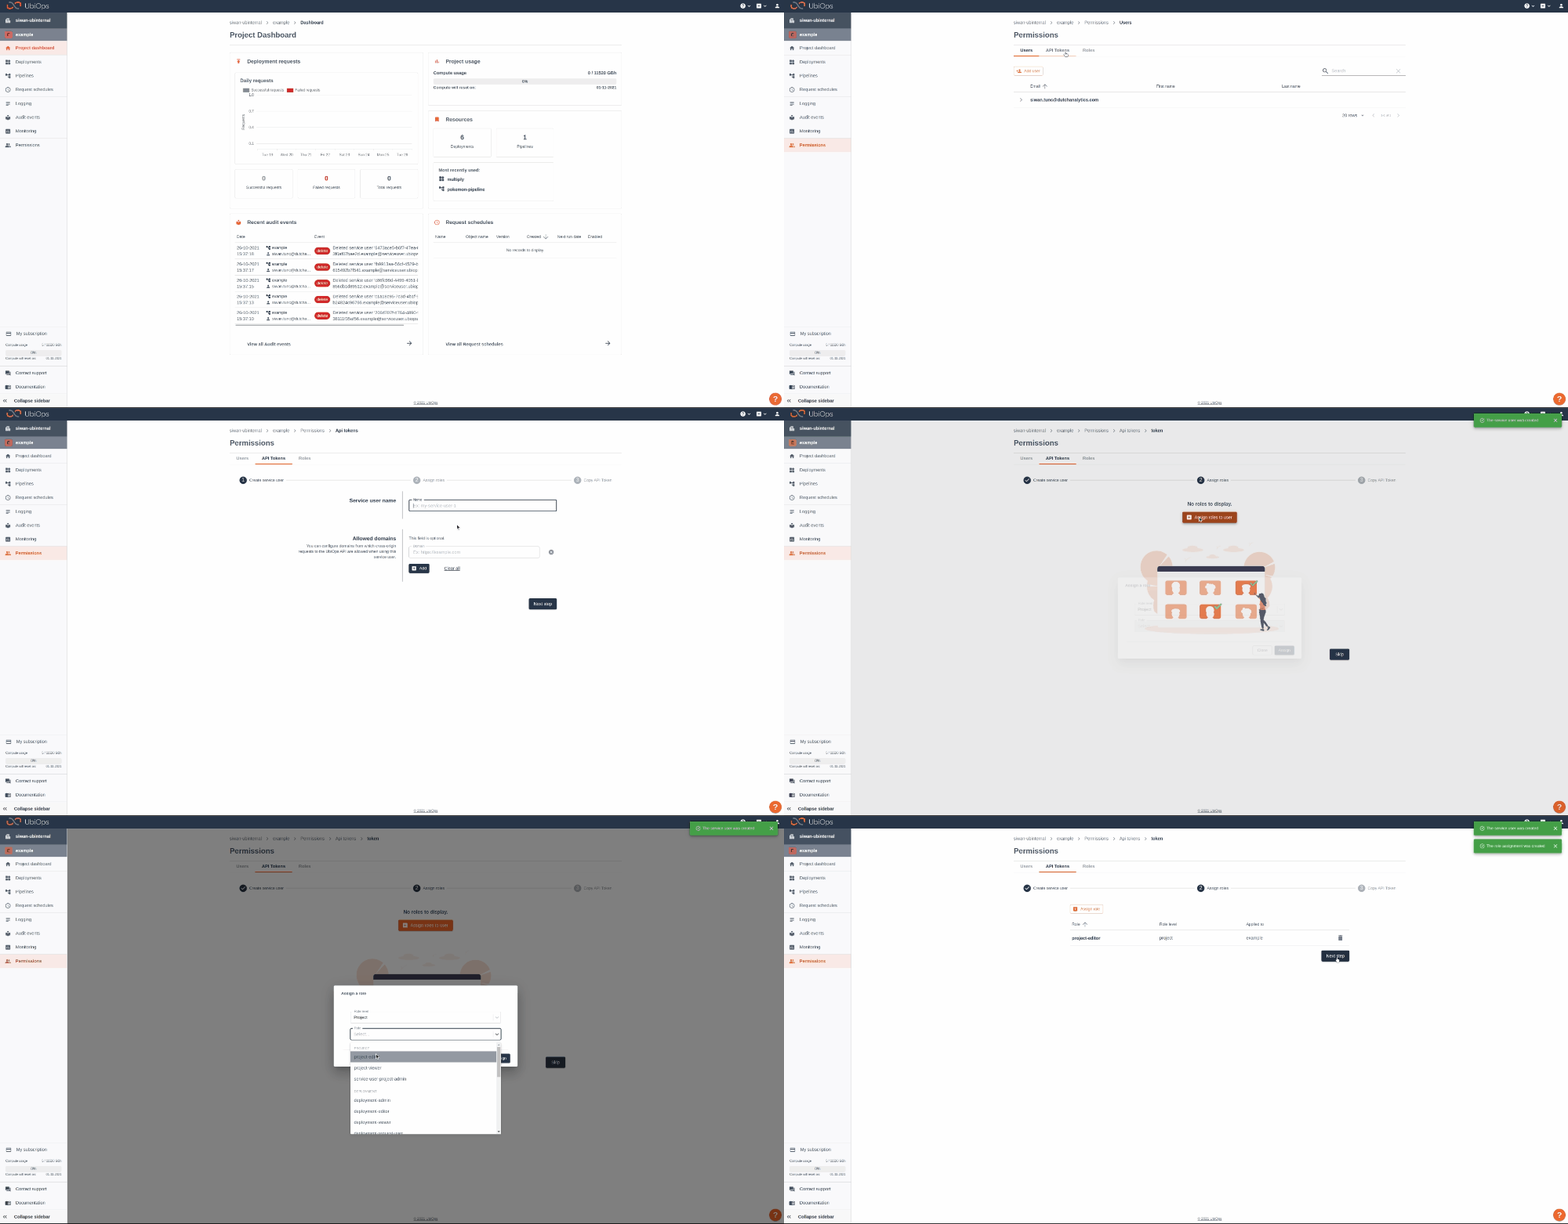
Step 1: Login to your UbiOps account at https://app.ubiops.com/ and create an API token with project editor rights. To do so, click on Permissions in the navigation panel, and then click on API tokens. Click on Add token to create a new token.

Give your new token a name, save the token in safe place and assign the following role to the token: project editor. This role can be assigned on project level.
Step 2: Download the Pachyderm folder and open pachyder_ubiops.ipynb. In the notebook you will find a space to enter your API token and the name of your project in UbiOps. Paste the saved API token in the notebook in the indicated spot and enter the name of the project in your UbiOps environment. This project name can be found in the top of your screen in the WebApp.
Step 3: Run the Jupyter notebook pachyder_ubiops and everything will be automatically deployed to your UbiOps environment! Afterwards you can explore the code in the notebook or explore the application in the WebApp.
Download link for necessary files: Pachyderm files.