Triggered Request from GCP Cloud Functions
Download notebook View source code
In this example we will show you how to write a Google Cloud Function that triggers a request to a deployment/pipeline in the UbiOps platform.
Most cloud providers offer a serverless function platform, such as Lambda in AWS, Cloud Functions in the Google Cloud Platform or Functions in Azure. These functions can be used to execute code based on events in services of those cloud providers, such as when new data is published in streaming solutions or when files are added to blob storage. Using these functions and triggers, you can automatically push data to deployments or pipelines when new data or files become available by sending a request to the UbiOps API from the function.
How does it work?
Step 1: Login to your UbiOps account at https://app.ubiops.com/ and create an API token with project editor rights. To do so, click on Permissions in the navigation panel, and then click on API tokens. Click on [+]Add token to create a new token.
Give your new token a name, save the token in safe place and assign the following role to the token: project editor. This role can be assigned on project level.
If you do not have or do not want to use an existing deployment or pipeline for triggering the requests from the Cloud Functions, you can create a dummy deployment/pipeline by going through the next step. Otherwise, if you are going to use an existing deployment or pipeline, you can skip this step.
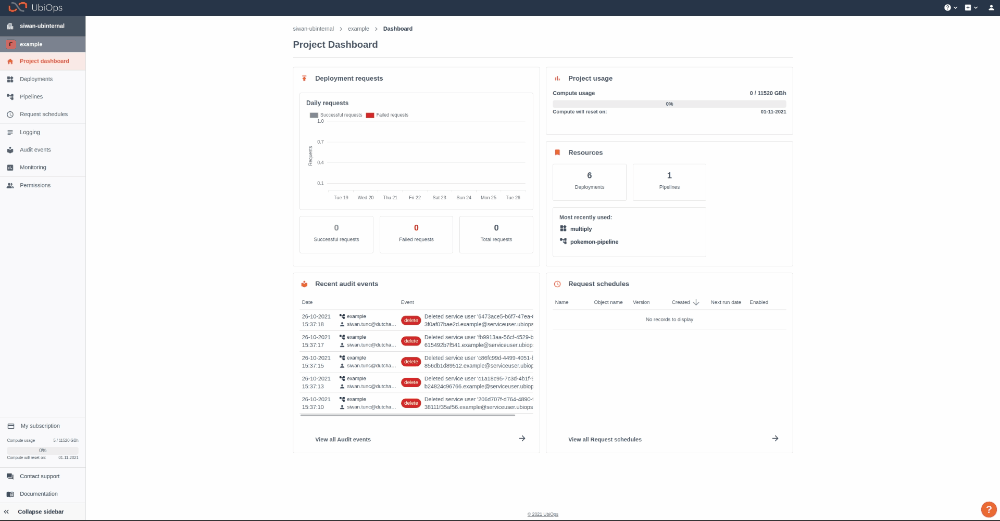
Step 2 (optional): In this step we will create a dummy deployment and/or pipeline and deploy it to your UbiOps environment. You can start by downloading the google-cloud-functions-triggered-request folder and opening dummy_deployment_pipeline_creation.ipynb. In the notebook you will find a space to enter your API token and the name of your project in UbiOps. Paste the saved API token in the notebook in the indicated spot and enter the name of the project in your UbiOps environment. This project name can be found in the top of your screen in the WebApp. In the image in step 1 the project name is cloud-functions-example.
Run the Jupyter notebook dummy_deployment_pipeline_creation.ipynb and the deployment and/or pipeline will be automatically deployed to your UbiOps environment! Afterwards you can explore the code in the notebook or explore the application in the WebApp.
Step 3: At this point in the tutorial you should have a deployment and/or pipeline to use. We will now trigger requests to this deployment or pipeline by means of a Google Cloud Function. Whether you are trying to trigger a deployment or pipeline request, you can decide between two different types of requests: direct or batch. Depending on what you want to trigger, you have in total 4 possibilities, where each of these possibilities has a different Google Cloud Function that triggers the request:
-
Direct deployment request: The corresponding Google Cloud Function can be retrieved by downloading the deployment-request folder.
-
Batch deployment request: The corresponding Google Cloud Function can be retrieved by downloading the deployment-batch-request folder.
-
Direct pipeline request: The corresponding Google Cloud Function can be retrieved by downloading the pipeline-request folder.
-
Batch pipeline request: The corresponding Google Cloud Function can be retrieved by downloading the pipeline-batch-request folder.
Each of the listed folders follows the same structure. It consists of:
-
a main.py file where the actual Cloud Function code resides
-
a requirements.txt file where the dependencies needed for running the function are listed
Step 4:
WARNING
In this tutorial, we ask you to provide the API token hardcoded in the function's main.py, for simplicity sake. We would like to warn the user that this should absolutely never be done in a production environment. The API token gives access to many functionalities in your UbiOps environment and should therefore be kept safe.
Functions triggering deployments
For functions triggering deployment requests, make sure to change the following things in the corresponding function in main.py:
-
Fill in the Authorization API Key.
configuration.api_key['Authorization'] = 'Token < YOUR PRIVATE TOKEN HERE >' -
Change the following keyword (named) arguments values to the values you are currently using: Change the argument with key project_name to the name of the project you are using. In case you are using a version that already exists, change the argument values to those respective deployment and version names. Otherwise, if you have just created a deployment using the provided notebook, use the name that you have given to that deployment upon creation.
project_name='test-project',
deployment_name='test-deployment',
version='version'
Functions triggering pipelines
For functions triggering pipeline requests, make sure to change the following things in the corresponding function in main.py:
-
Fill in the Authorization API Key.
configuration.api_key['Authorization'] = 'Token < YOUR PRIVATE TOKEN HERE >' -
Change the following keyword (named) arguments values to the values you are currently using. Change the argument with key project_name to the name of the project you are using. In case you are using a pipeline that already exists, change the argument with key pipeline_name to that respective pipeline name. Otherwise, if you have just created a pipeline, use the value that you have given to that pipeline upon creation.
project_name='test-project',
pipeline_name='test-pipeline'
Step 5: In the last step we will deploy the function with a Pub/Sub trigger. In the directory that contains the code, run the following command:
gcloud functions deploy ubiops_request --runtime python37 --trigger-topic YOUR_TOPIC_NAME
You can use the following values for the --runtime flag to specify your preferred Python version:
-
python37
-
python38
where YOUR_TOPIC_NAME is the name of the Pub/Sub topic to which the function will be subscribed.
More information about the deploying process can be found here.
The function can then be manually triggered via the command gcloud pubsub topics publish YOUR_TOPIC_NAME --message YOUR_NAME. Replace YOUR_TOPIC_NAME with the name of your Pub/Sub topic, and YOUR_NAME with the input that is going to be passed to the deployment/pipeline in the request. More information on triggering functions can be found here.
This page shows a notebook that covers the steps required to create a dummy deployment and/or pipeline. The first part of this page will tackle the deployment creation process; afterwards, in the final part, a dummy pipeline will be created, making use of the deployment created in the previous step.
We recommend to run the cells step by step, as some cells can take a few minutes to finish. You can run everything in one go as well and it will work, just allow a few minutes for building the deployments.
Establishing a connection with your UbiOps environment
Add your API token and then provide a project name. Afterwards we initialize the client library. This way we can deploy the deployment and/or pipeline to your environment.
API_TOKEN = '<INSERT API_TOKEN WITH PROJECT EDITOR RIGHTS>' # Make sure this is in the format "Token token-code"
PROJECT_NAME= '<INSERT PROJECT NAME IN YOUR ACCOUNT>'

# Import all necessary libraries
import requests
import ubiops

client = ubiops.ApiClient(ubiops.Configuration(api_key={'Authorization': API_TOKEN},
                                               host='https://api.ubiops.com/v2.1'))
api = ubiops.CoreApi(client)
Create the dummy deployment
This step will create and deploy a deployment to your UbiOps environment. The deployment's functionality will consist of just passing the input as an output (hence it being called a dummy deployment).'
First, change the DEPLOYMENT_NAME and DEPLOYMENT_VERSION variables in the next cell to a deployment and version name of your choice. Then, simply run the following cell to create the dummy deployment.
DEPLOYMENT_NAME='example-deployment'
DEPLOYMENT_VERSION='v1'

deployment_template = ubiops.DeploymentCreate(
    name=DEPLOYMENT_NAME,
    description='Example deployment',
    input_type='structured',
    output_type='structured',
    input_fields=[
        {'name':'input', 'data_type':'string'}
    ],
    output_fields=[
        {'name':'output', 'data_type':'string'}
    ],
    labels={'demo': 'gcp-functions-tutorial'}
)

api.deployments_create(
    project_name=PROJECT_NAME,
    data=deployment_template
)

# Create the version
version_template = ubiops.DeploymentVersionCreate(
    version=DEPLOYMENT_VERSION,
    environment='python3-11',
    instance_type_group_name='512 MB + 0.125 vCPU',
    minimum_instances=0,
    maximum_instances=1,
    maximum_idle_time=1800, # = 30 minutes
    request_retention_mode='full', # input/output of requests will be stored
    request_retention_time=3600 # requests will be stored for 1 hour
)

api.deployment_versions_create(
    project_name=PROJECT_NAME,
    deployment_name=DEPLOYMENT_NAME,
    data=version_template
)

# Download the deployment package
dummy_package = requests.get('https://storage.googleapis.com/ubiops/data/Integration%20with%20cloud%20provider%20tools/google-cloud-functions-triggered-request/dummy_package.zip')

with open("dummy_package.zip", "wb") as f:
    f.write(dummy_package.content)

# Upload the zipped deployment package
file_upload_result =api.revisions_file_upload(
    project_name=PROJECT_NAME,
    deployment_name=DEPLOYMENT_NAME,
    version=DEPLOYMENT_VERSION,
    file='dummy_package.zip'
)
Deployment created and deployed!
Now that the deployment has been successfully created and deployed, we can move to the next step.
The next step will continuously check and monitor the UbiOps environment in order to make sure that the created deployment has passed the building stage.
from time import sleep


status1 = 'building'
while status1 != 'available' and 'unavailable' not in status1:
    version_status1 = api.deployment_versions_get(
        project_name=PROJECT_NAME,
        deployment_name=DEPLOYMENT_NAME,
        version=DEPLOYMENT_VERSION
    )
    status1 = version_status1.status
    sleep(1)

print(status1)
Deployment passed the building stage
If the output of the previous cell is "available", the deployment has been successfully created, deployed and build. If you need to also create a dummy pipeline on top of the deployment, you can continue to the next step.
In the next step, we will create a simple pipeline which uses the deployment that we have created in the previous cells of this notebook. This pipeline will consist of only one deployment (the one previously created) and it will not have any real functionality.
First, give the dummy pipeline a name of your choice by changing the PIPELINE_NAME variable in the next cell. Then, simply run the cell to create the pipeline.
PIPELINE_NAME = "example-pipeline"

pipeline_template = ubiops.PipelineCreate(
    name=PIPELINE_NAME,
    description="An example pipeline",
    input_type='structured',
    input_fields=[
        {'name':'input', 'data_type':'string'}
    ],
    output_type='structured',
    output_fields=[
        {'name':'output', 'data_type':'string'}
    ],
    labels={'demo': 'gcp-functions-tutorial'}
)

api.pipelines_create(
    project_name=PROJECT_NAME,
    data=pipeline_template
)

PIPELINE_VERSION = DEPLOYMENT_VERSION

pipeline_template = ubiops.PipelineVersionCreate(
    version=PIPELINE_VERSION,
    request_retention_mode='full',
    objects=[
        # example deployment
        {
            'name': DEPLOYMENT_NAME,
            'reference_name': DEPLOYMENT_NAME,
            'version': DEPLOYMENT_VERSION
        }
    ],
    attachments=[
        # start --> example deployment
        {
            'destination_name': DEPLOYMENT_NAME,
            'sources': [{
                'source_name': 'pipeline_start',
                'mapping': [{
                    "source_field_name": 'input',
                    'destination_field_name': 'input'
                }]
            }]
        },
        # example deployment --> pipeline end
        {
            'destination_name': 'pipeline_end',
            'sources': [{
                'source_name': DEPLOYMENT_NAME,
                'mapping': [{
                    "source_field_name": 'output',
                    'destination_field_name': 'output'
                }]
            }]
        }
    ]
)

api.pipeline_versions_create(project_name=PROJECT_NAME, pipeline_name=PIPELINE_NAME, data=pipeline_template)
IMPORTANT: If you get an error like: "error":"Version is not available: The version is currently in the building stage" Your deployment is not yet available and still building. Check in the UI if your deployment is ready and then rerun the block above.
Note: This notebook runs on Python 3.11 and uses UbiOps CLient Library 3.15.0.