UI training Starter Tutorial
This starter tutorial is using the UbiOps UI and shows you how you can train an XGBoost model on UbiOps. After training, the model will be stored in the default storage bucket on UbiOps. You can follow along with this video or follow all the steps below.
Requirements
Running the example in UbiOps
To train the model to your own UbiOps environment you can log in to the WebApp, go to the Training tab, and (if you haven't already) click on enable training. This will create a template deployment named training-base-deployment in your project. UbiOps uses this deployment to spin up the training runs, and is therefore immutable.
After enabling training we can go ahead and create an experiment. The experiment will define the training set up and environment for our training runs. Each run is an actual code execution on a dataset. For the experiment we need to define parameters like the name of the experiment, the hardware settings, environment settings, and the default output bucket.
For more information about training with UbiOps in general, please visit the training page.
Creating an experiment
The parameters for this experiment are given in the table below.
You can use the following parameters for the experiment:
| Experiment configuration | |
|---|---|
| Name | xgboost-experiment |
| Description | An experiment for training an XGBoost model |
| Hardware settings | 4096 MB + 1 vCPU |
| Environment settings | + Create new, then use the parameters in the table below |
| Select default output bucket | default |
| Environment Settings | |
|---|---|
| Name | xgboost-training-env |
| Base environment | Ubuntu 22.04 + Python 3.10 |
| Custom environment | Download & upload this file |
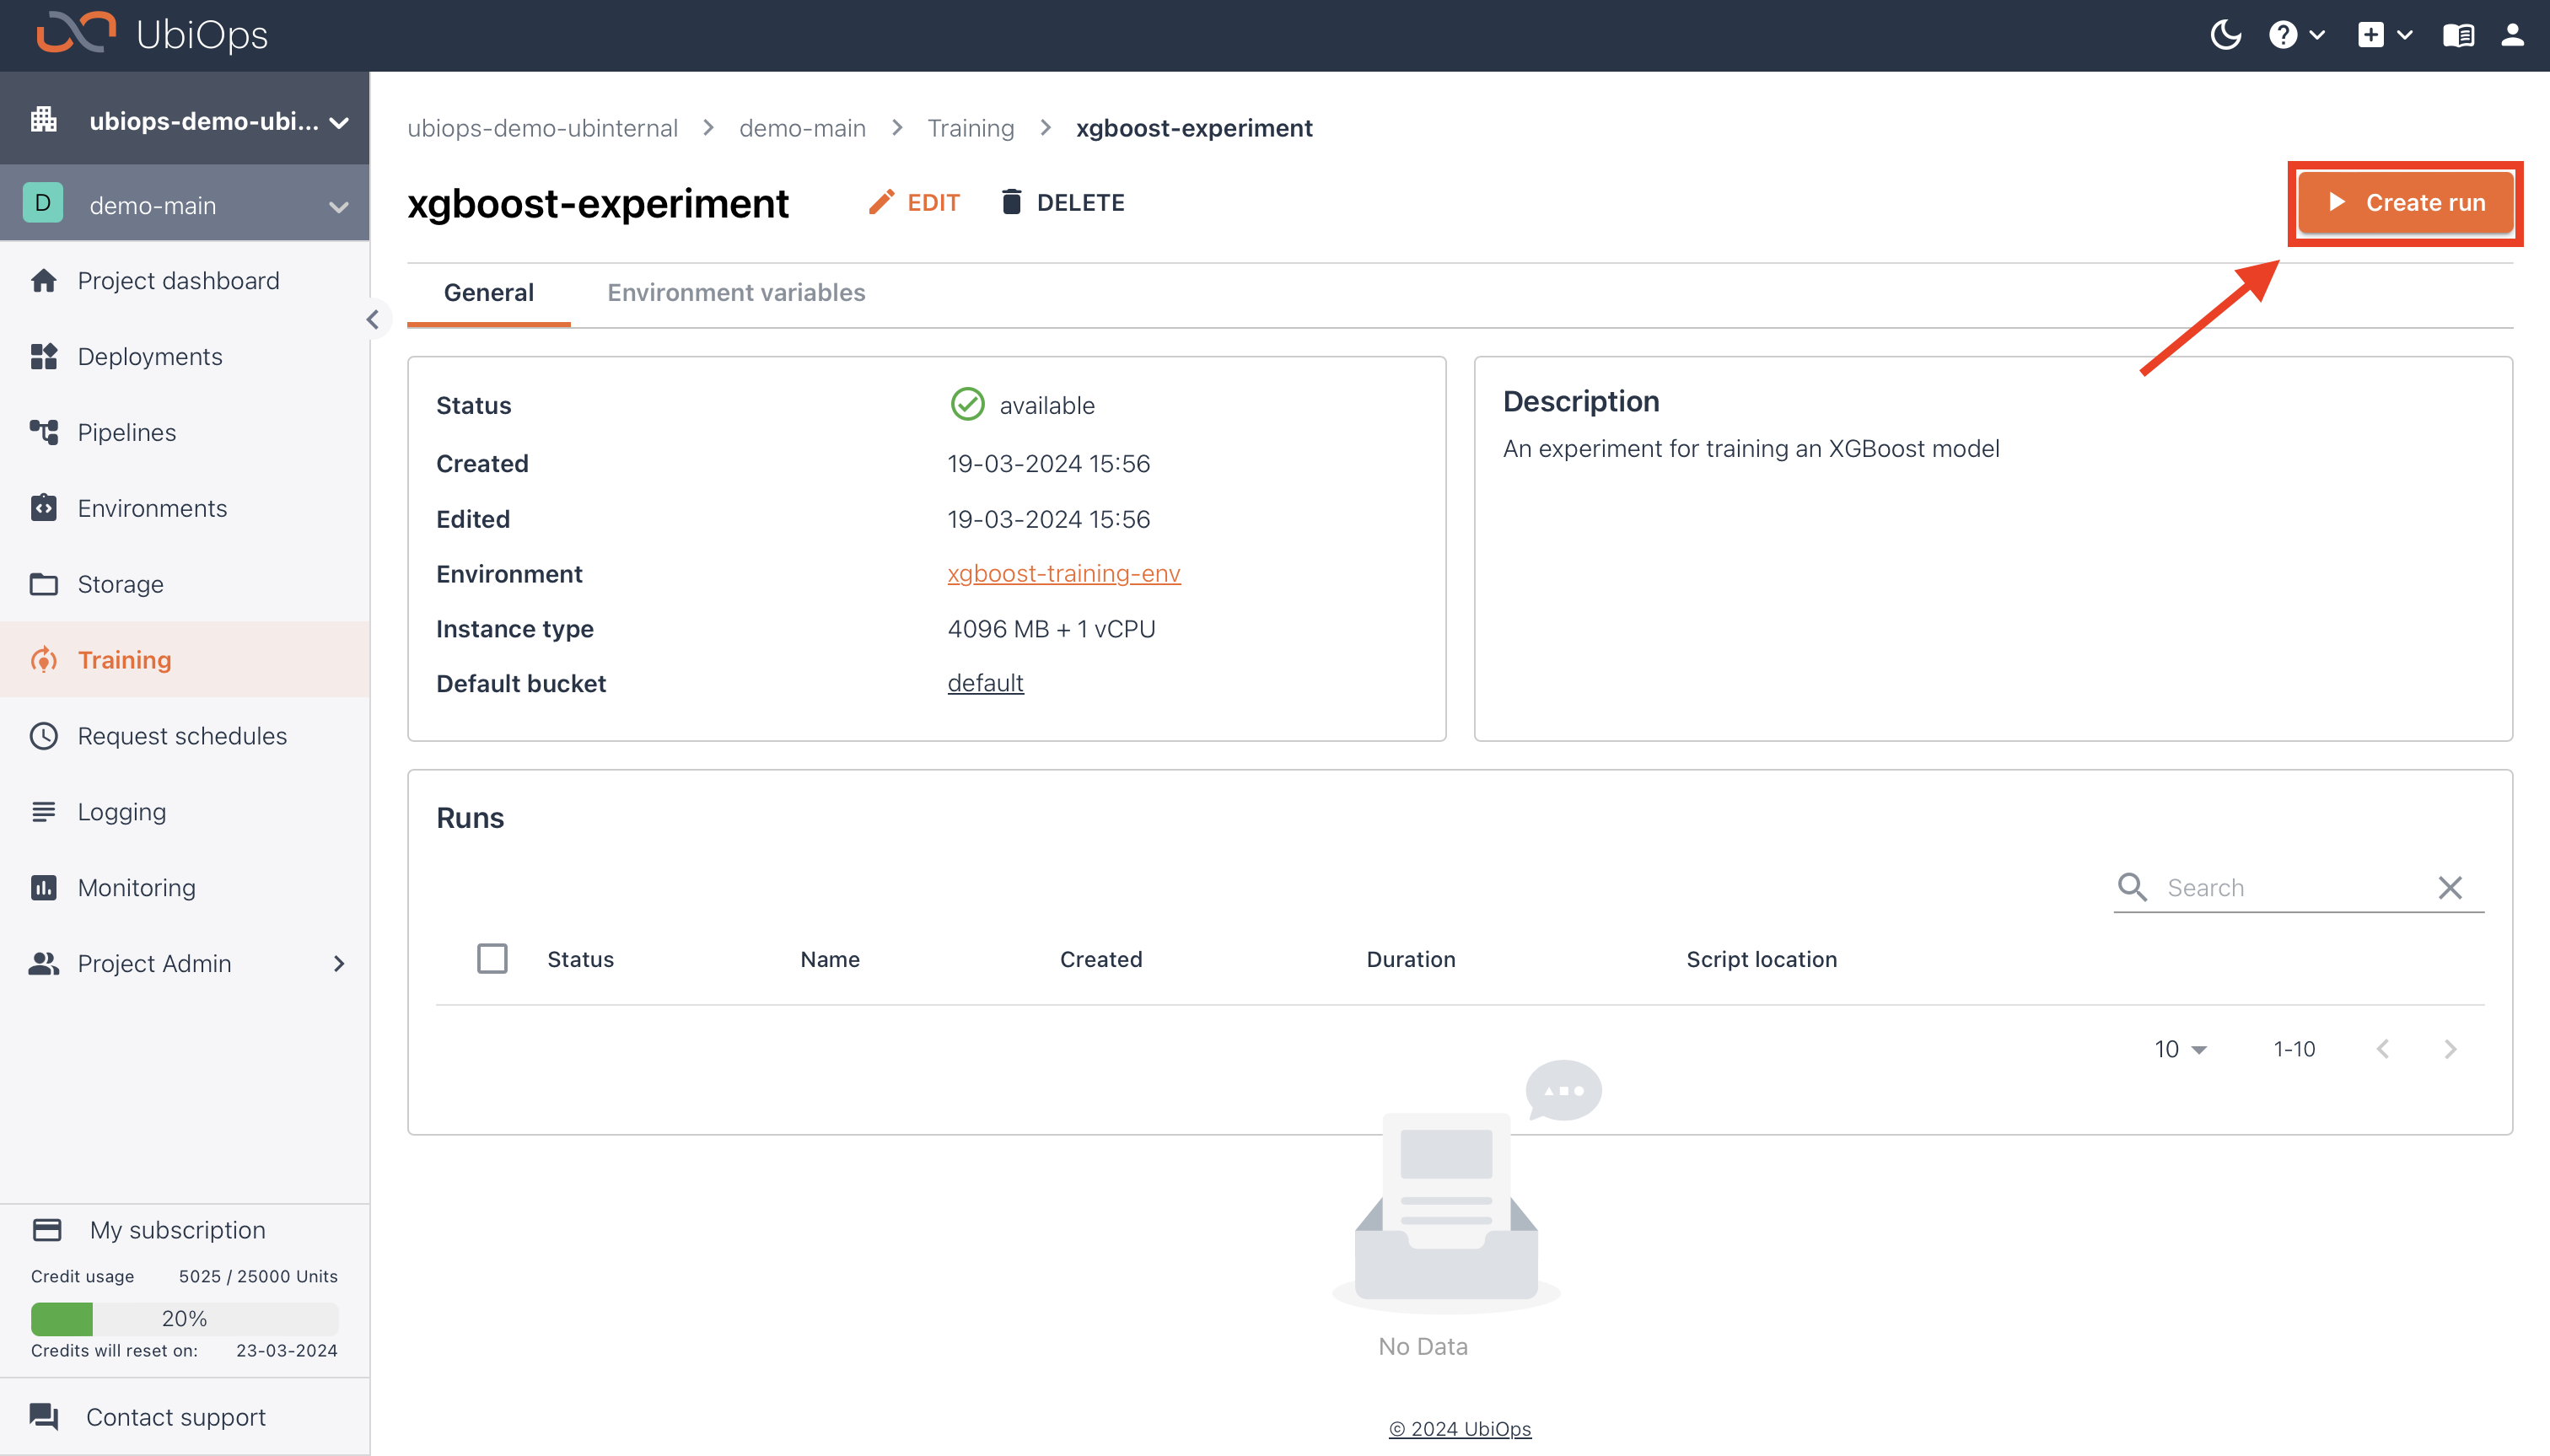
After clicking on create, UbiOps will start building a custom environment with the dependencies we specified in the Environment Settings, and a version for the training-base-deployment mentioned earlier. You can monitor the progress of the building process by navigating to the Logging tab in the UI.
When UbiOps is finished building your experiment, the status in the UI will be updated to available. Now we can start initiating training runs.
Initiating a training run
Now we can start with the training of the model by initiating training run(s). As with experiments, we need to define some parameters for each run, like the name of the run, the training code, and training data. In this example we'll initiate two training runs, with two different set of parameters, so we can compare the outcome of the runs.
You can use the following parameters for the training run:
| First training run configuration | |
|---|---|
| Name | training-run-(current date) |
| Description | First training run for an XGBoost model |
| Training code | Download & upload this file |
| Training data | Download & upload this file |
| Parameters | {"n_estimators": 100,"learning_rate": 0.08, "subsample": 0.5} |
After clicking on Create, UbiOps will spin up an instance of the selected instance type. During this time the status will be set as pending. When the instance type is available the code inside the train.py will be executed, and the outputted model will be stored in the default bucket.
Now we create a second run, for which we'll use a different set of training parameters so that we can compare and evaluate the performance of the model using a different
Initiating a second training run
For the second run, run we'll use the same training code and training data, but alter the training parameters. You can use the following parameters for the second run:
| Second training run configuration | |
|---|---|
| Name | training-run-(current date) |
| Description | Second training run for an XGBoost model |
| Training code | Select existing file -> default -> train.py |
| Training data | Select existing file -> default -> kc_house_data.csv |
| Parameters | {"n_estimators": 200,"learning_rate": 0.16, "subsample": 1} |
Comparing and evaluating results
After the second run is finished we can compare the outcome of the two runs, to see which set of parameters generated the best model. We'll evaluate the model based on the accuracy metric.

In the Evaluate tab it's also possible to compare training runs from different experiments. In UbiOps it's also possible to create custom metrics, you can read how on the corresponding documentation page.
Next steps
If you finished this starter tutorial you can take a look at the other starter tutorials, where you can learn how you can deploy this model, or use it in a pipeline.
You can find more examples of how you can train models on UbiOps on our Tutorials page. These tutorials are a bit more advanced, and use the UbiOps Client Library.