Working with files
UbiOps supports the use of files as input or output of both deployments and pipelines. The file
datatype can be used to handle images, data files or other file objects in requests.
Managing files with buckets
Files are organized inside buckets. UbiOps has a file system that allows you to either create storage buckets directly on UbiOps, or connect to your own storage buckets on either Google, AWS or Azure. You can have multiple buckets per project and by default we provide you with a default
bucket. Every project member and every deployment/pipeline in the project has read and write access to the default bucket.
Every file on UbiOps can be re-used in multiple requests in the same project, or used as intermediate storage for passing files between deployments in a pipeline.
Creating buckets
New storage buckets can be created on project level. In the WebApp you can create a new bucket on the storage page, that you can find via the sidebar. On the storage page you can click Create new bucket to either create a new UbiOps hosted bucket, or to connect to a bucket in your own cloud. When creating a new UbiOps hosted bucket you can also define an automatic deletion policy. This policy will dictate when and if your buckets are automatically cleared out. The default deletion policy is once every week.
For help in connecting to existing storage buckets in your own cloud environment, see the respective how-to's:
- How to connect to an existing Google Cloud Storage bucket
- How to connect to an existing Amazon S3 bucket
- How to connect to an existing Azure blob storage bucket
Managing bucket permissions
On buckets that are not the default
bucket you can set more granular permissions. You can give bucket permissions to:
- Project members
- Service users (API tokens)
- Deployments
Permissions can be granted by assigning files related roles. There are four default roles for working with files:
files-reader
: this role has read only permissions for filesfiles-writer
: this role can read and write filesfiles-reader-restricted
: this role has read only permissions and cannot list files. If users interacting with your deployment should only be able to view the specific files related to a request they made, you should use this role. This role is particularly useful for publicly exposed deployments.files-writer-restricted
: same as above, but then also with write permissions.
When you have a deployment with file
type input or output, do not forget to give that deployment permissions for the right buckets. By default deployments can only access the default
bucket.
For more information on assigning roles, see the permissions page.
Uploading new files and managing existing ones
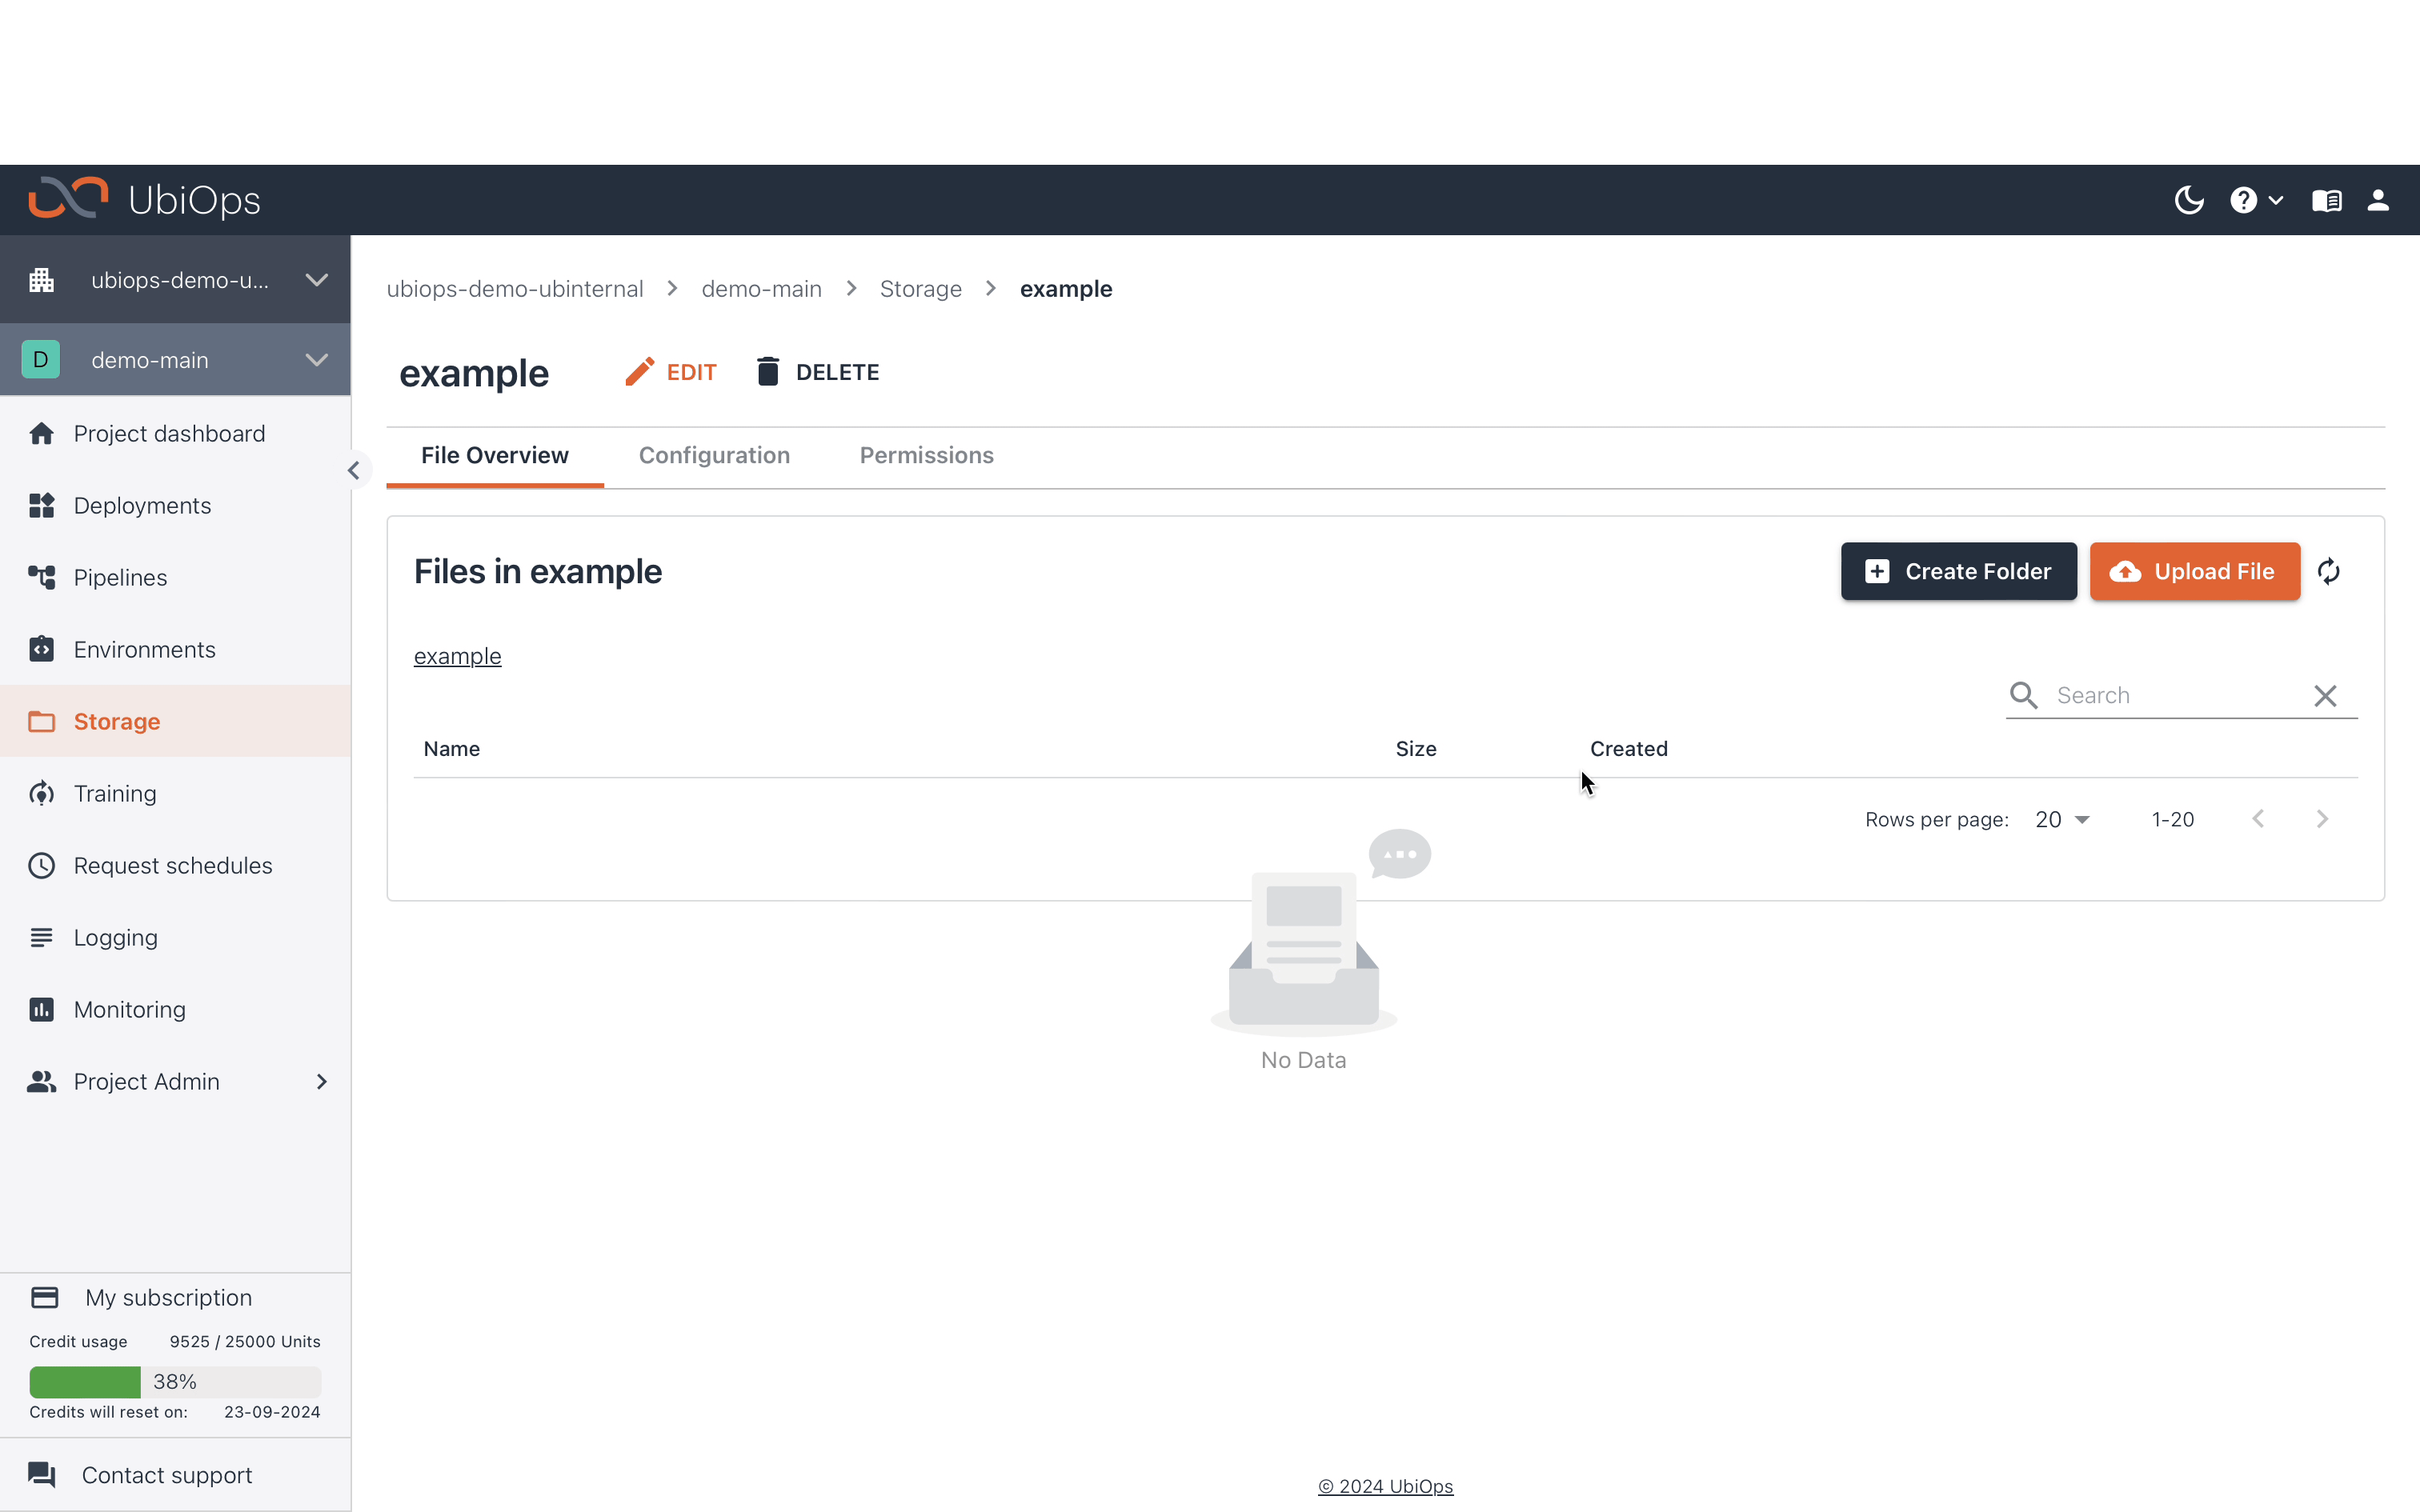
Files are uploaded, listed, downloaded or deleted in UbiOps using an API request, either directly or using the WebApp, CLI or Python client library. In the WebApp you can browse through existing files, upload new files, or organize them in folders.
When using the API directly to download or upload files, please note that it is a two-step process that uses "signed URLs".
For downloading: - Request a signed URL using the "Download a file" API endpoint. - Download the file using a standard HTTP GET request.
For uploading: - Request a signed URL using the "Upload a file" API endpoint. - Use the signed URL to upload the file using a HTTP PUT upload request. An example using cURL is: curl -X PUT <signed URL> --upload-file file.ext
. - Azure buckets require two additional request headers to be sent with the upload, see the "Upload a file" endpoint on our Swagger documentation for more information.
A signed URL is valid for 5 minutes. Note that anyone in possession of the URL can upload or download the file during the 5-minute window.
Using files in deployments
file
is available in UbiOps as a structured
data type. You can select the file
data type for in- or output fields when defining the deployment. For each file field, one file can be used per request.
Passing files in a request
When making a request, files are passed to the file fields of a deployment by passing the file URI of an existing file. This means that prior to making the request either a new file needs to be uploaded, or an already existing file should be selected. The file URI should be formatted as ubiops-file://{bucket-name}/{file_name}
.
When using the WebApp, the uploading of the file and passing the URI in the deployment request is handled automatically in the background. When using the API, CLI or client library, you need to upload the file with a separate API request(s) before making the deployment request. Here's an example with the Python client library:
import ubiops
configuration = ubiops.Configuration()
# Configure API token authorization
configuration.api_key['Authorization'] = 'Token <YOUR_API_TOKEN>'
# Enter a context with an instance of the API client
api_client = ubiops.ApiClient(configuration)
project_name = 'project_name_example'
bucket_name = 'bucket_name_example'
file_input = 'file_example.png'
# Upload a file
file_uri = ubiops.utils.upload_file(api_client, project_name, file_input, bucket_name)
# Define request data with file
data = {'file_input': file_uri}
api_client.deployment_version_requests_create(
project_name=project_name,
deployment_name='file-example-deployment',
version='v1',
data=data
)
Retrieving files is done using the file URI's as well. In the WebApp a download button is available after completing a request or by navigating to a file in your bucket. In code a file is downloaded using the API, for example, using the UbiOps Python client library:
# Download a file
file_uri = 'ubiops-file://example-bucket/file_example.png'
ubiops.utils.download_file(
api_client,
project_name,
file_uri=file_uri,
output_path='.',
stream=True,
chunk_size=8192
)
See platform limits for limitations on the usage of files.
Handling file input in the deployment code
UbiOps makes sure that input files given in the request are automatically made available on the file system of the deployment during the request. The file URI initially passed while creating the request is replaced by the absolute path where the file can be accessed.
For example, for a request made with the following request data containing a file identified by a file URI:
{
"file": "ubiops-file://default/file_example.png"
}
The data object available inside the request method of the deployment class would look as follows:
{
"file": "/home/deployment/files/{file-id}/file_example.png"
}
The file can then be used as a normal file in the request method of the deployment, for example, in Python:
class Deployment:
def request(self, data):
with open(data['file'], "rb") as f:
# Process the file
Full file example
For a full example of using a file inside a deployment, see the MNIST quickstart example.
Handling file output in the deployment code
For file outputs in a deployment, UbiOps handles the uploading of the file to the project file storage and returning a file URI in the response of the request.
For fields of type file, the path to the file should be returned in the response of the request method. For example in Python, for a deployment with a file output field output_file
:
class Deployment:
def request(self, data):
with open("/tmp/file.txt", "w") as f:
f.write("test")
return {
"output_file": "/tmp/file.txt"
}
The above snippet will store the outputted file in the default
bucket. In case you want to store it in a different bucket, you can pass the bucket name in the return statement as well. You can also pass the optional bucket-file
paramater, which specifies exactly where to store the file in your bucket. This can be usefull when you want to store the output in a specific folder.
class Deployment:
def request(self, data):
with open("/tmp/file.txt", "w") as f:
f.write("test")
return {
"output_file": {
"file": "/tmp/file.txt",
"bucket": "example-bucket",
"bucket-file": "request-output/file.txt"
}
}
The processed response of the request will then look as follows:
{
"output_file": "ubiops-file://example-bucket/file.txt"
}
Using a different bucket as default
It is possible to set a different bucket as the default for a deployment (version). You can do so by setting the SYS_DEFAULT_BUCKET
environment variable to the name of the desired bucket. The deployment will then use this bucket instead of default
when no bucket name is specified in the code.