Deployment package structure
Your deployment code needs to be packaged in the structure described below for the UbiOps platform to run it.
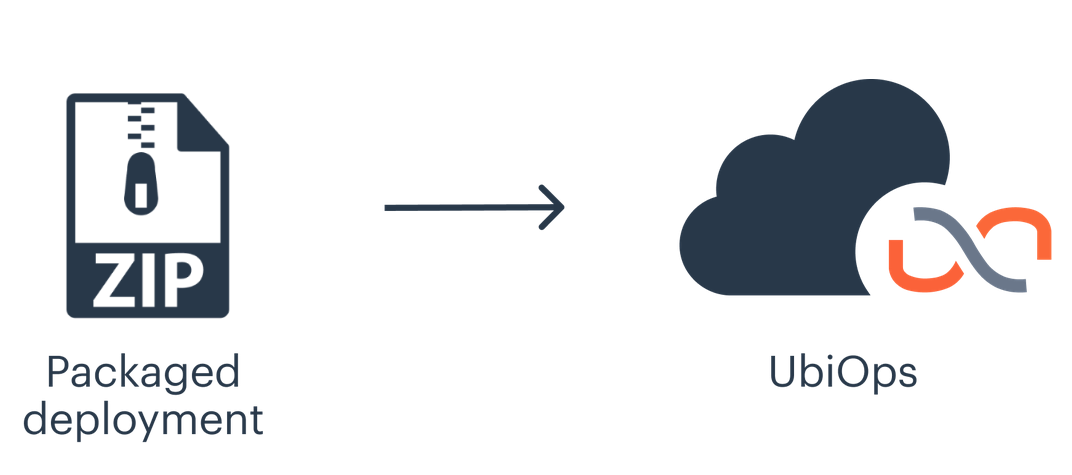
The packaged deployment is a zip file containing a number of required files and directories. This page specifies in what structure UbiOps expects your deployment file.
Deployment package structure
Templates available on GitHub
Template structures are available on our Github. You can download an example Python deployment package .zip here: Download example deployment package.
Each deployment package should be uploaded to UbiOps as a ZIP archive. This ZIP can have any name. The ZIP must contain a directory, which can have any name, in the root of the ZIP. If your ZIP contains multiple directories, it will look for a directory called deployment_package. This directory should contain all deployment files.
The structure of the .zip package is independent on which base environment it is deployed, and and needs to include the following:
deployment_folder.zip
    deployment_package/
        - deployment.py
        - libraries/    (optional)
        - ubiops.yaml   (optional)
        - python-dependency-file(s) (optional, e.g., requirements.txt)
        - other files & artifacts (optional)
The files in the example deployment package above can be subdivided into two types of files: deployment files and environment files.
Deployment files
The deployment files consist of the deployment.py, which is the file that contains the code which ubiops will run each time a request is made, and all files containing deployment artifacts and attributes e.g. a model parameter file or a pickle file.
Environment files
The environment files consists of the files that specify what dependencies you want to use, e.g, a requirements.txt for package and library requirements, directory libraries for including dependencies that your deployment uses, or a ubiops.yaml for installing OS level packages.
You can find more information and examples about creating, using, and managing environments on our environments page.
Maximum deployment package size
The maximum upload size of a zipped deployment package is 8 GiB.
The deployment file
The deployment.py file needs to have the structure as shown below. It should contain an initialization method, which is called when the deployment is initialized, and a request method, which runs when a request to the deployment is received by UbiOps.
From here you can extend the code in any way you like.
"""
The file containing the deployment code is required to be called 'deployment.py' and should contain the 'Deployment'
class and 'request' method.
"""

# Always use absolute imports when importing modules from the deployment package directory. For example
# `import my_module` instead of `import .my_module`

import random


class Deployment:

    def __init__(self, base_directory, context):
        """
        Initialization method for the deployment. It can for example be used for loading modules that have to be kept in
        memory or setting up connections. Load your external deployment files (such as pickles or .h5 files) here.
        :param str base_directory: absolute path to the directory where the deployment.py file is located
        :param dict context: a dictionary containing details of the deployment (version) that might be useful in your
        code.
            It contains the following keys:
                - project (str): name of the project that hosts the deployment
                - project_id (str): unique identifier of the project
                - deployment_id (str): unique identifier of the deployment
                - deployment (str): name of the deployment
                - version_id (str): unique identifier of the deployment version
                - version (str): name of the version
                - process_id (int): unique identifier of the instance process
                - input_type (str): deployment input type, either 'structured' or 'plain'
                - output_type (str): deployment output type, either 'structured' or 'plain'
                - input_fields (list): list with all input fields of the deployment
                - output_fields (list): list with all output fields of the deployment
                - language (str) : programming language the deployment is running
                - environment_variables (dict/str): the custom environment variables configured for the deployment.
                You can also access those as normal environment variables via os.environ
        """

        print("Initialising My Deployment")

    def request(self, data, context):
        """
        Method for deployment requests, called separately for each individual request.
        :param dict/str data: request input data. In case of deployments with structured data, a Python dictionary
            with as keys the input fields as defined upon deployment creation via the platform. In case of a deployment
            with plain input, it is a string.
        :param dict context: a dictionary containing details of the request that might be useful in your code.
            It contains the following keys:
                - id (str): the id of the request
                - user_id (str): unique identifier of the (service) user that sent the request
                - request_mode (str): mode of the request, either 'express' or 'batch'
                - streaming_update (func): used to stream partial output updates to.
            For a pipeline request, it contains the additional keys:
                - pipeline_request_id (str): unique identifier of the pipeline request
                - pipeline_id (str): unique identifier of the pipeline
                - pipeline_version_id (str): unique identifier of the pipeline version
                - pipeline_object_id (str): unique identifier of the object in the pipeline. Deployments and operators
                in pipelines are assigned a unique identifier.


        :return dict/str: request output. In case of deployments with structured output data, a Python dictionary
            with as keys the output fields as defined upon deployment creation via the platform. In case of a deployment
            with plain output, it is a string. In this example, a dictionary with the key: output.
        """

        print("Processing request for My Deployment")

        # You can run any code to handle the request here.

        # For a structured deployment, we return a Python dict with output. In this example, we are assuming this
        # deployment receives one input field called 'input' and outputs one field called 'output'
        return {
            "output": data['input'] * random.random()
        }

   # (OPTIONAL) Uncomment these lines in case you want to use 'requests' functionality
    # def requests(self, data, context):
    #     """
    #     Method for deployment requests, called once with a list of requests.
    #
    #     :param list[dict/str] data: request input data. In case of deployments with structured data, a list of Python
    #         dictionaries with as keys the input fields as defined upon deployment creation via the platform. In case
    #         of a deployment with plain input, it is a list of strings.
    #    :param dict context: a dictionary containing details of the request that might be useful in your code.
    #        It contains the following keys:
    #            - id (str): the id of the request
    #            - user_id (str): unique identifier of the (service) user that sent the request
    #            - request_mode (str): mode of the request, either 'express' or 'batch'
    #            - streaming_update (func): used to stream partial output updates to.

    #        For a pipeline request, it contains the additional keys:
    #            - pipeline_request_id (str): unique identifier of the pipeline request
    #            - pipeline_id (str): unique identifier of the pipeline
    #            - pipeline_version_id (str): unique identifier of the pipeline version
    #            - pipeline_object_id (str): unique identifier of the object in the pipeline. Deployments and operators
    #            in pipelines are assigned a unique identifier.
    #     :return list[dict/str] or dict/str: request output. In case of deployments with structured output data, a
    #         Python dictionary (or list of dictionaries) with as keys the output fields as defined upon deployment
    #         creation via the platform. In case of a deployment with plain output, it is a string (or list of strings).
    #         In this example, a list of dictionaries with the key: output.
    #     """
    #
    #     print(f"Processing requests {context['id']} for My Deployment")
    #
    #     # You can run any code to handle the requests here.
    #
    #     # For a structured deployment, we return a list of Python dicts as output. In this example, we are assuming
    #     # this deployment receives a list of dicts with one input field called 'input' and outputs a list of dicts
    #     # with one field called 'output'. It is also possible to return a single dict as output and thereby reducing
    #     # the number of requests from many to one.
    #
    #     output = []
    #     for item in data:
    #         output.append({
    #             "output": item['input'] * random.random()
    #         })
    #     return output
Raising custom errors
It is also possible to raise custom errors in your deployment file, for more information on how to do that see here.
Input and output of the request function
The request method has an input variable called data. This object will contain the data payload for each request. After processing, the request function will also return an output. By default this is an empty dictionary.
UbiOps supports the following data-types:
| Data type | Data format | Reference |
|---|---|---|
| String | 'string' or "string" | string |
| Integer | 9999 | int |
| Double precision | 9999.99 | double |
| Boolean | True/False | bool |
| File | 'ubiops-file://{bucket-name}/{filename}' (a file URI) | file |
| Array of strings | ['string', "string", ... ] | array_string |
| Array of integers | [88, 99, ... ] | array_int |
| Array of doubles | [88.88, 99.99, ... ] | array_double |
| Array of files | ['ubiops-file://{bucket-name}/{filename1}', 'ubiops-file://{bucket-name}/{filename2}', ...] | array_file |
| Dictionary | dict | dict |
More details on how to handle the input and output of the request function, can be found in the Deployment In- and output section. There you can also find examples on how to work with files or how to convert well-known Python data structures like NumPy Arrays and Pandas DataFrames to data-types that UbiOps can work with.
Context dictionaries
UbiOps passes metadata to the init and request functions of a deployment in the form of dictionaries. These dictionaries contain information about the deployment and the request. The context dictionary of the request function contains additional information when the deployment is called inside a pipeline. The different context keys are provided in the deployment file structure
Testing your deployment
The deployment template in our Github project contains an example script to test whether your deployment is working correctly within our deployment wrapper.
You can edit and execute the file run_deployment.py according to your deployment to simulate the UbiOps back-end that initializes the deployment and makes a request. Alternatively, UbiOps provides a utils function that you can use to test locally