Introduction to Deployments
Deployments are objects within UbiOps that serve your code to process data. From the uploaded code, the platform will build a container, running as a microservice inside UbiOps. A deployment has a unique API endpoint for receiving requests with data to process. Examples of typical deployments are algorithms, data aggregation scripts and trained machine learning models. You can create and interact with your deployment using the UbiOps WebApp, Python Client Library, and Command Line Interface (CLI)
Deployment starter tutorial
See our tutorial on deployments to start using UbiOps now: Deployment starter tutorial.
Versions
You can create multiple versions for your deployment. Input and output fields are defined on deployment level, but the deployed code, base environment, instance type (group) and other settings are defined on the deployment version level. The first version of a deployment is always marked as default. The default version of your deployment is the one that a request is sent to, if you do not specify the version when making the request. Every version that has passed the building staged can be marked as default. Each version of your deployment has a unique API endpoint which you can use.
Environments
Deployment versions (& training experiments) make use of environments. Custom environments are built on top of a base environment with files that specify any additional dependencies (i.e. a requirements.txt). This way you can manage your code and the environment separately. Environments can be reused between different deployment versions or experiments. This means that if you often use the same dependencies you can standardise the run environment of your deployments, which can greatly reduce your build times. Each time you create a deployment version with dependency information in the deployment package, a custom environment will be automatically be build for you.
For the sake of convenience, there's an option to upload both deployment code and environment files together within a single package. If the uploaded package contains the same dependency information as a version that already has a successful build, UbiOps will not build a new environment but use the old one.
Creating a deployment
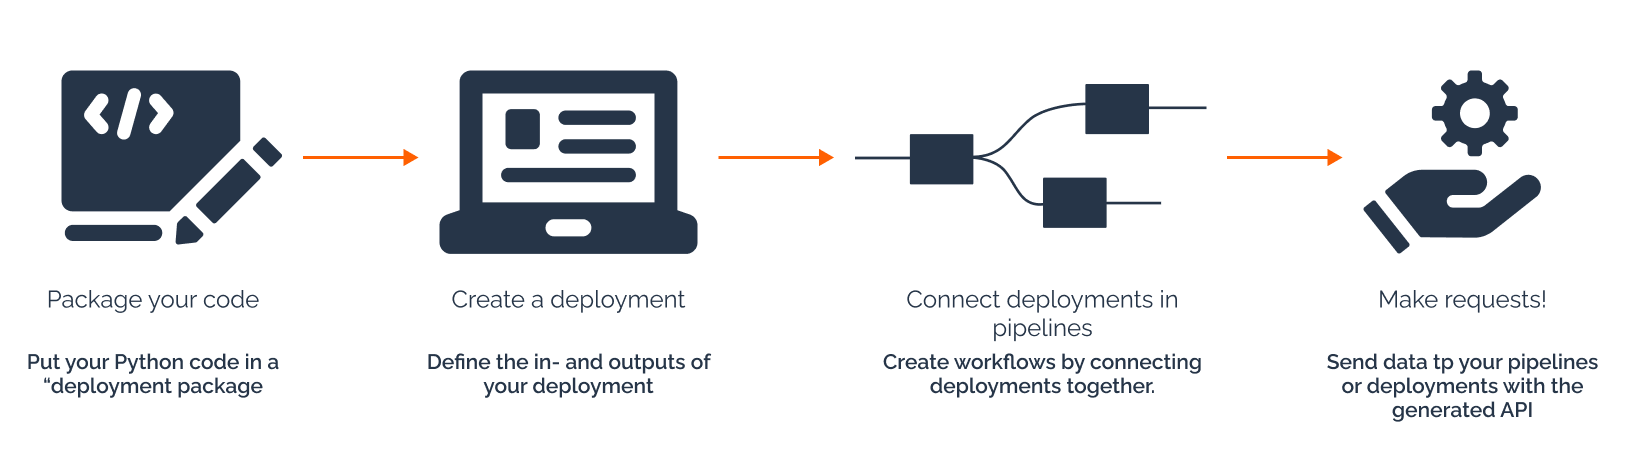
When you create a new deployment in UbiOps, you first define the expected in- and output structure and data types. To learn more about options for data in-/output, see the page on data types. When you create a new deployment, you will automatically create the first deployment version. As previously mentioned this version will be marked at the default version.
Uploading your code
The code that will run, as well as its requirements and artifacts, are uploaded to UbiOps in the form of a zipped deployment package. In this deployment package, you include your code but also requirement files, artifacts and other dependencies.
UbiOps will take care of containerizing your code and installing all its dependencies. You can also configure which instance type(s) the code can run on and the instance scaling settings, when you create a version. See advanced parameters for more information about deployment settings and options.
Wrapping your code in a UbiOps deployment package
See this page for detailed information about the deployment structure. You can find templates for deployment packages on our GitHub or download an example here.
Setting up CI/CD from Git
You can also push changes from Git to UbiOps automatically. See this How-to for more information.
Making requests
After the deployment is built in the background, it is ready to receive requests through its API endpoint. For more information about how to let a deployment process data, see the making requests page.
Monitoring your deployments
All logs generated by deployments can be found on the Logging page for easy monitoring. You can access specific deployment logs by clicking the LOGS button on each deployment, or by using the filter system on the Logging page to streamline monitoring.
Creating data pipelines from multiple Deployments
A deployment can also be connected to other deployments in a pipeline.
More information on Deployments
Read more about creating deployment versions on the deployment version page.
For a tutorial on deployments, see: Deployment starter tutorial.
Creating a new Deployment with the UbiOps WebApp
Creating a deployment using the Client Library
UbiOps provides several tutorials that explain how you can create deployments using the Python Client Library
A deployment can be created in the UbiOps WebApp by visiting Deployments in the left navigation bar and clicking on the Create button.
A deployment requires a name, an input type and an output type. The input type and output type can be structured or plain. See Deployment package structure for more information.
Adding labels/tags to deployments
You can assign labels to deployments to filter them easily later on. Provide a name and a value, such as "type" - "image_recognition" and click on Add.
After confirming the deployment, you can create Environment Variables for your deployment. Environment variables allow you to externally set variables, managed by UbiOps, that can be used inside your deployment code.
The first version of your deployment can be created in the next step of the deployment creation form. A default name v1 will be filled in, though feel free to name them as your team finds most convenient. For more information about deployment versions, see Deployment versions
Fill in the base environment of your code. Click on the Upload code button to upload the ZIP file. The required structure of the ZIP file can be found under Deployment package structure. For a concrete example of a deployment ready to be deployed, follow the steps in our starter tutorial.
More deployment options are optional, such as for example the scaling settings. These can be set in the Advanced parameters.
Finally, click on the Create button.